Systems for Measuring Wheel Contact Forces
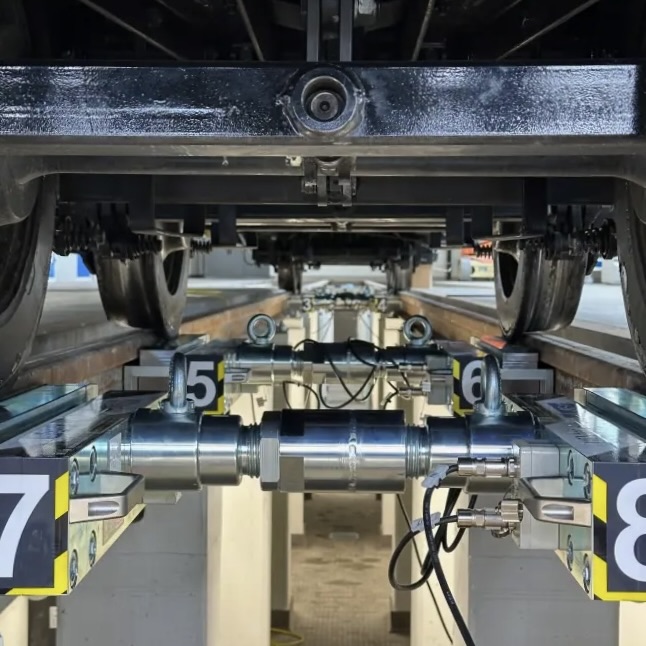
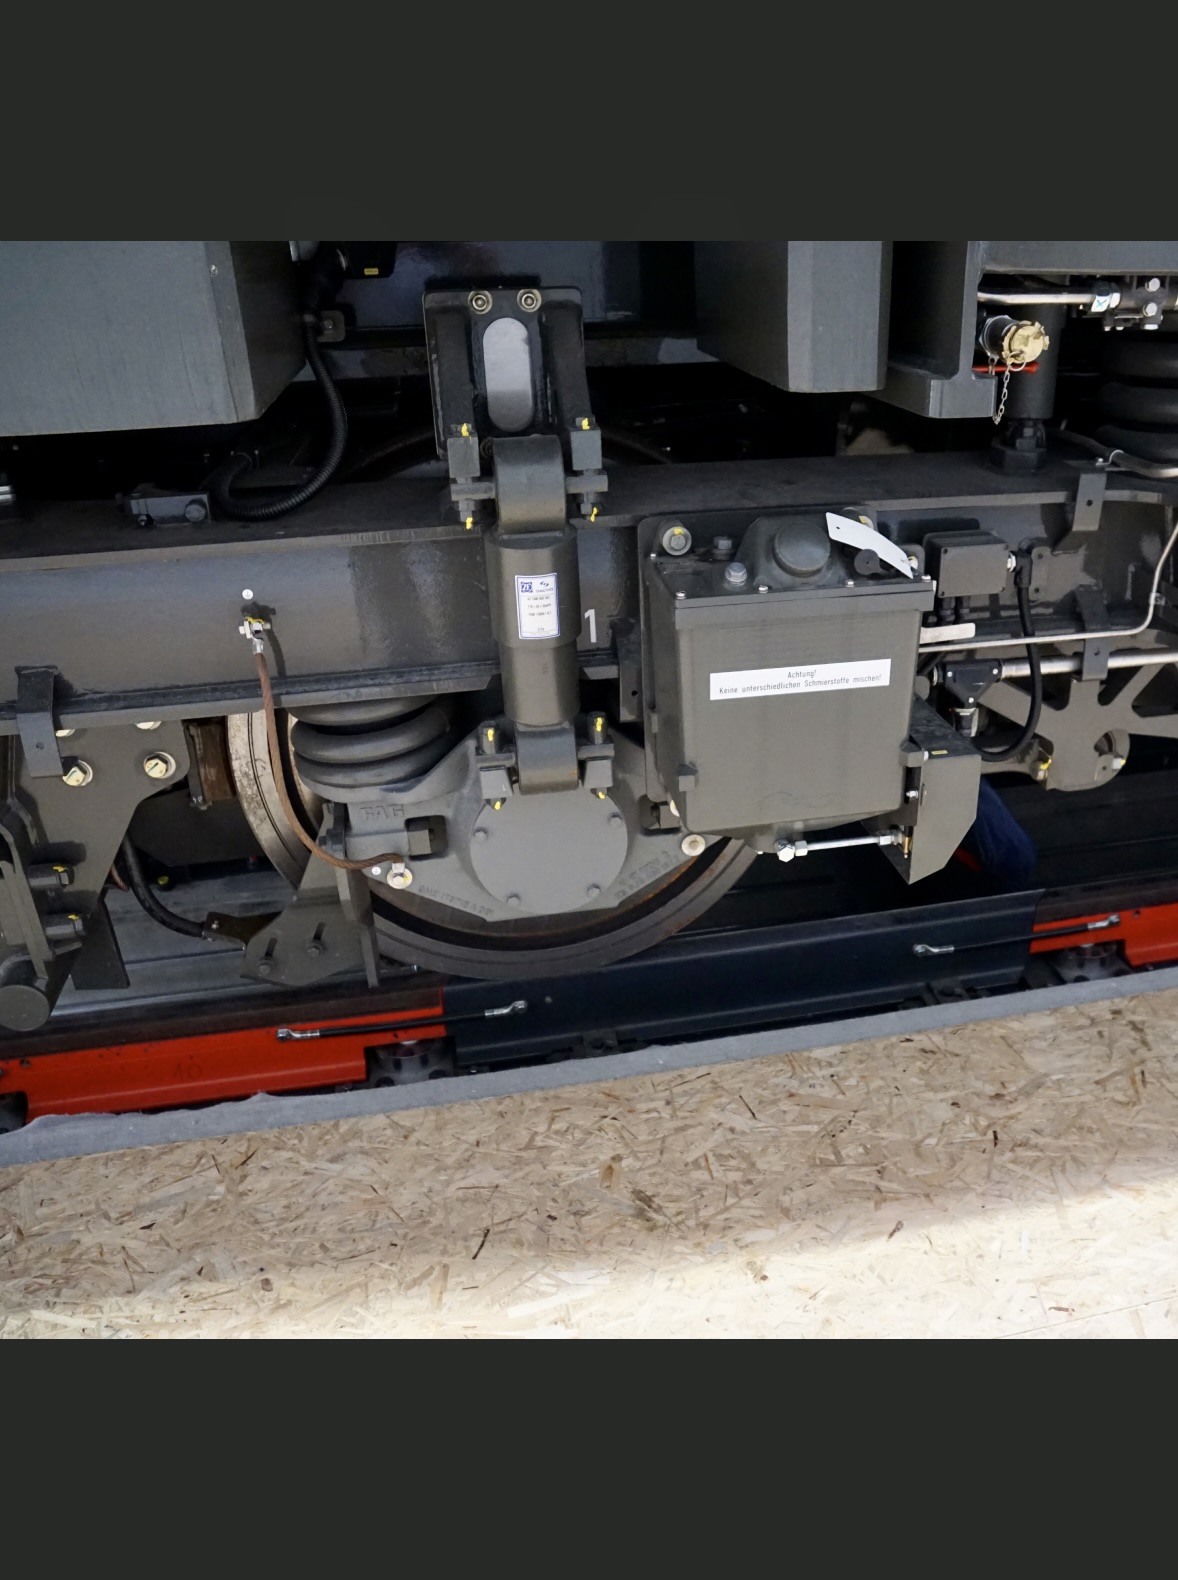
The LARS concept describes mobile and flexible systems for the precise recording of wheel contact forces. These solutions are the most popular, as they are cheaper and quicker to deliver and the user has the most freedom in his measuring task. The solutions of the StARK concept, on the other hand, provide for stationary solutions.
LOW INSTALLATION EFFORT – COST SAVINGS
Our mobile measurement solutions require minimal installation effort and are quickly integrated into your processes. This means significant cost and time savings for you.MODULAR EXPANDABILITY
Our mobile systems can easily be expanded to up to 15 measuring axes.LOW MAINTENANCE
Our mobile systems are durable and low maintenance, minimizing operating costs and downtime, ensuring stability in your processes.
Both for mobile and stationary installation scenarios, we offer the right system for measuring wheel contact forces.
At WINtec process GmbH, our LARS and StARK designs provide solutions for your measurement processes in the field of wheel contact force determination. We are happy to advise you on which system best suits your application.
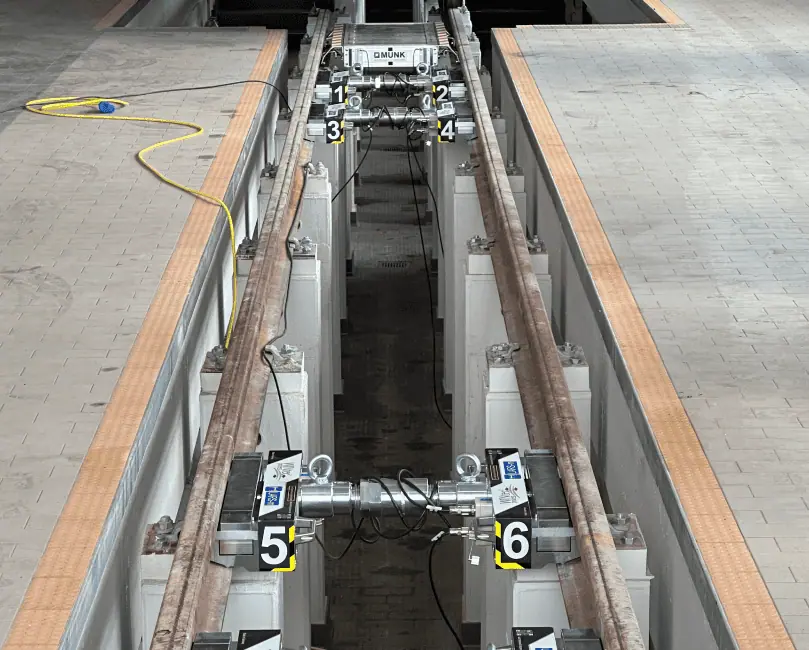
LARS-m in Action
The WINtec process Principle
We have developed a clearly structured process to ensure that your project is in the best hands right from the start. This ensures that we record your requirements precisely and implement them with the best possible solution. Find out how we achieve the best result together in just a few steps.
CLARIFICATION OF THE TASK AND TECHNICAL DETAILS
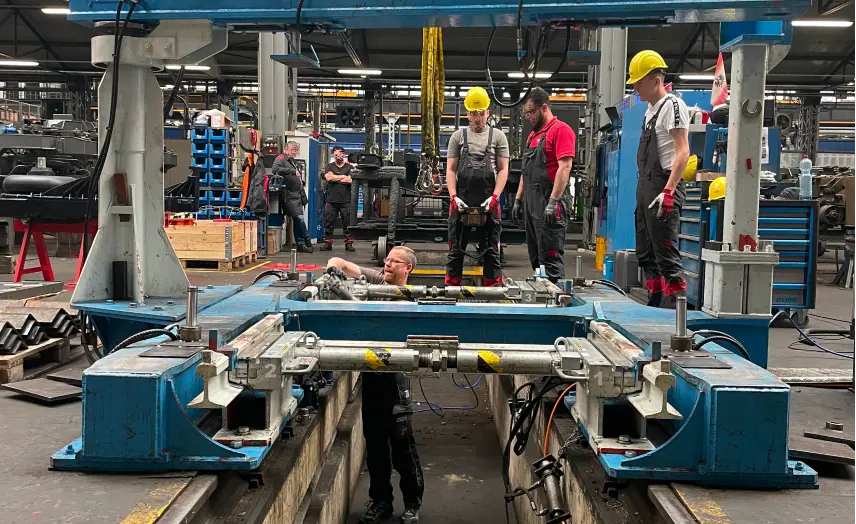
Our measuring systems are designed to meet the highest technical standards. In addition to reliability and robustness, our designs are extremely precise and user-friendly. We are happy to advise you on your application and provide you with the appropriate concept solution.
INSTALLATION CONDITIONS AND PRODUCTION
Together, we will assess your installation situation. After that, production of your measuring system can begin. This ensures precise measurement results, regardless of the specific conditions on site.
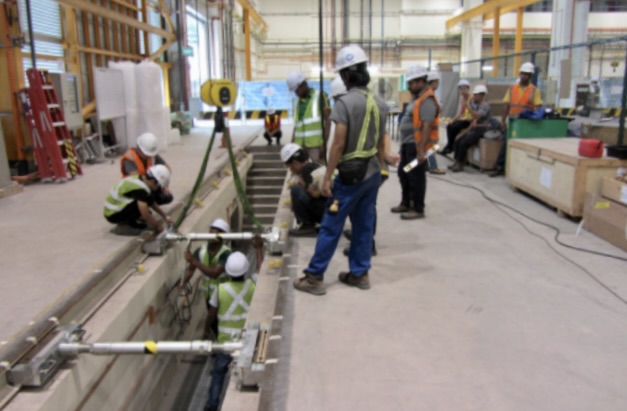
ON-SITE SERVICE AND TRAINING
We support the initial commissioning on site and train your staff in the use of the measuring equipment.
Mobiles Radaufstandskraftmesssystem
The ELAS-m corner force measuring system is a low-cost alternative to the automatic ELAS-a system. This transportable four-point measuring system can easily be integrated in jack systems and has a precision lift facility.
Auf einem Blick:
- mobil einsetzbares hochgenaues Messsystem zur Ermittlung der Radaufstandskraft entsprechend DIN EN 15654, DIN 27201, DIN EN 50215, EN 14363 und UIC V660
- äußerst flexibel einsetzbares Messsystem, da jederzeit schnell anpassbar an unterschiedliche Einbauorte, sowie Achs- und Drehgestellmittenabstände
- Beilagenbleche zu Herstellung einer eigenen Höhenreferenz (Messgleisqualität)
- Messung erfolgt auf der Spurkranzkuppe, wodurch keine Querkräfte, die das Messergebnis beeinflussen können, auftreten
- Keine Beeinflussung der Messwerte durch Querversatz der Räder
The ELAS-m mobile corner force measuring unit was developed in response to market demands for lower-cost alternatives to automatic stress test rigs.
The compact design of the system makes it suitable for mobile use on jacks at different locations. This provides a high degree of certitude for those with responsibility for planning and budget.
The integrated precision lift facility allows exact positioning in respect of heights and forces. The special design of the measuring points guarantees that heights will be sustained and forces held, even for relatively long periods of time. This prolonged height hold is essential if a geometric measurement of the profile of the coach body is required after the position or reference position of low torsional stress has been reached.
Product Selection
Mobile Wheel Contact Force Measuring System
At a Glance:
Complies with DIN EN 15654, DIN 27201, DIN EN 50215, EN 14363, and UIC V660
Measurement accuracy better than ±0.5% across the entire measuring range
Setup within minutes and easy to use
Highly flexible and expandable at any time
Suitable for almost all commonly used rail profiles and track gauges
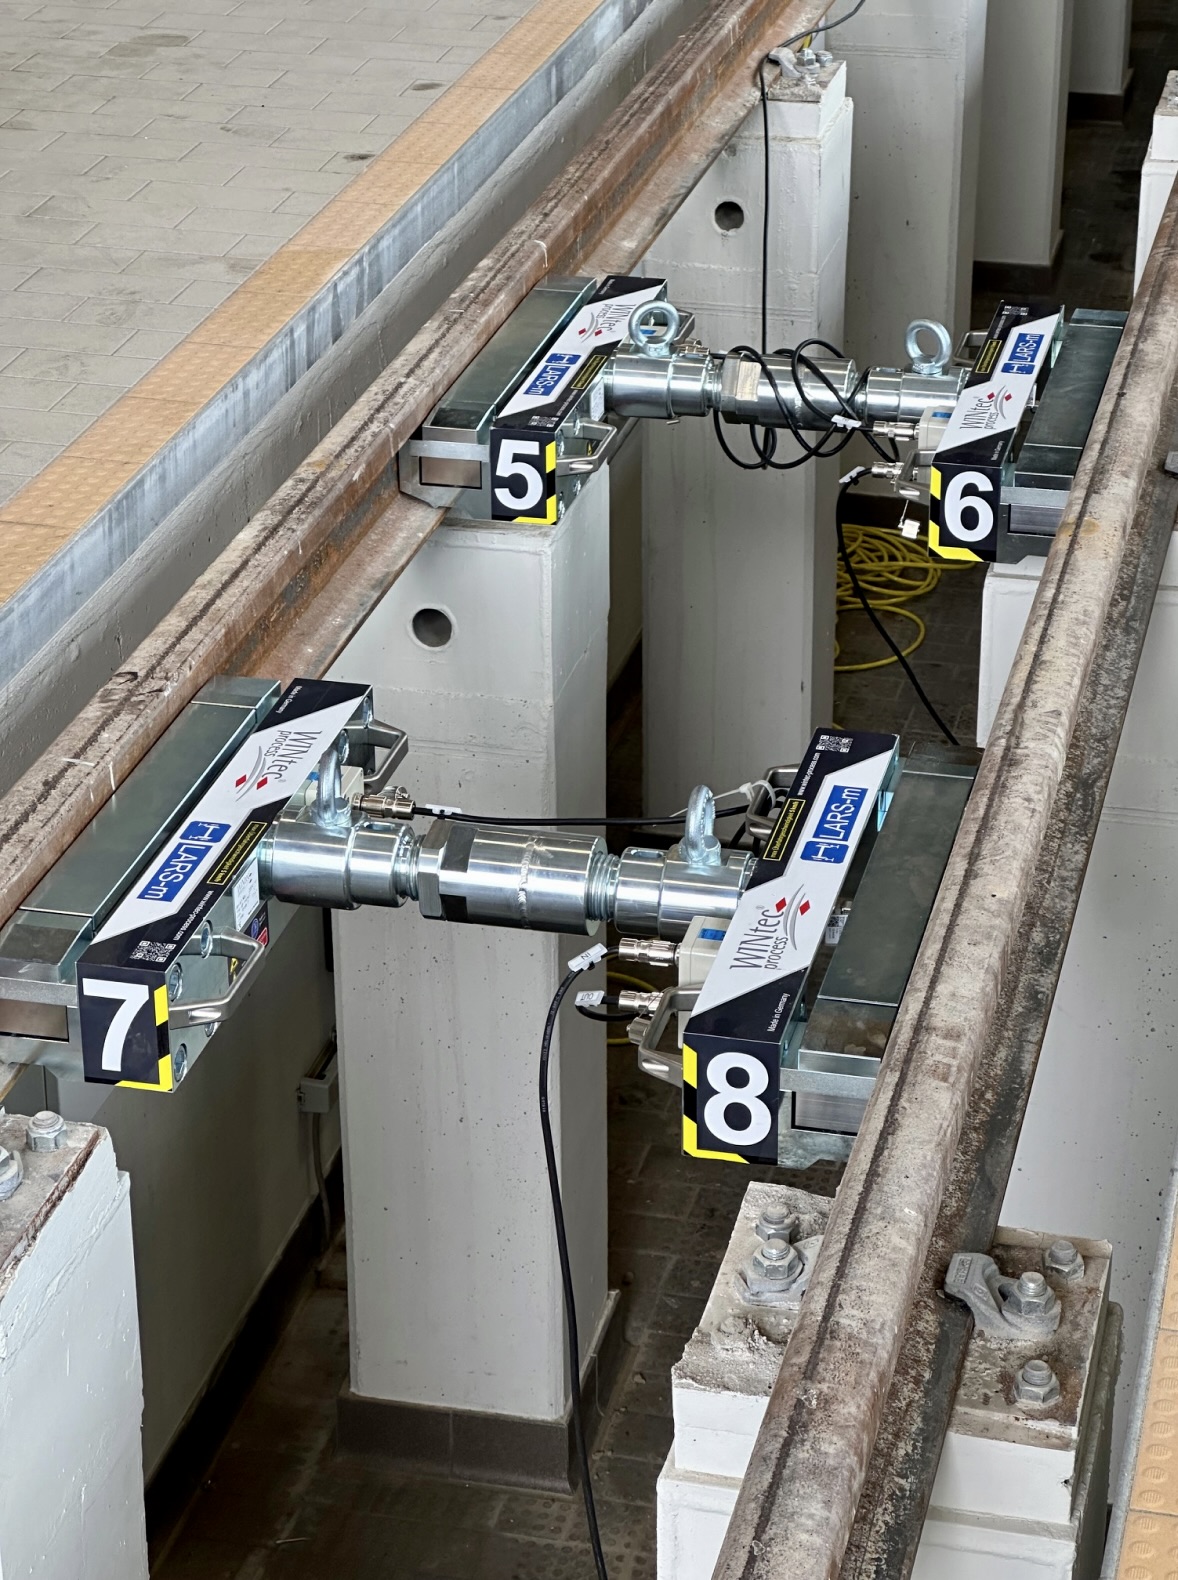
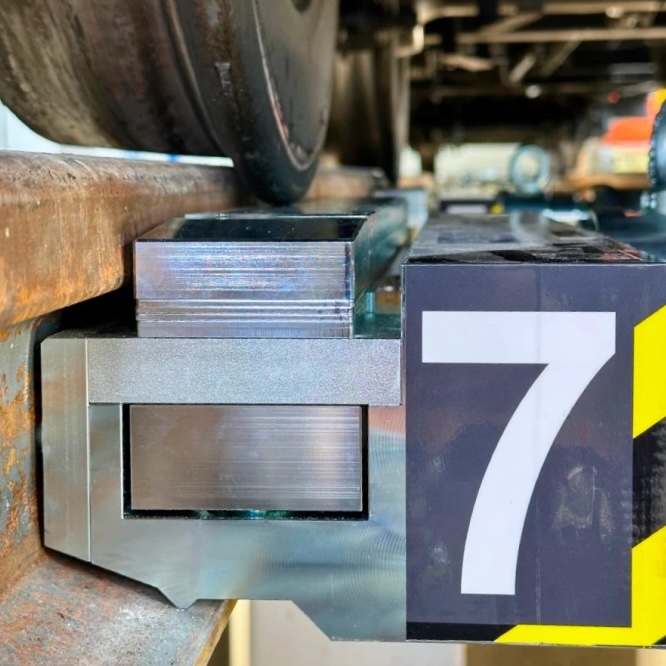
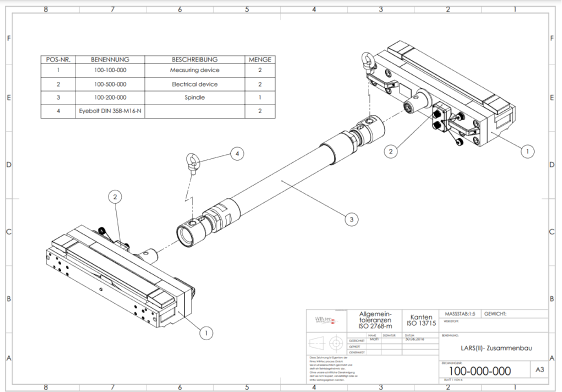
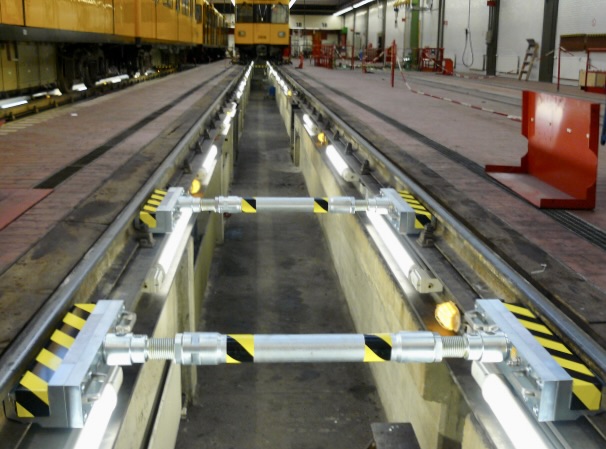
The LARS-m system is a high-precision, mobile force measurement system for determining wheel contact forces on rail vehicles. It is compatible with various rail profiles and track gauges and features a compact design that enables quick setup without the need for special tools.
The system can be used both stationary and mobile, adapting flexibly to different installation situations. The measurement data is processed via a central measurement data controller, allowing for real-time monitoring and easy operation through a touch interface. The system is delivered as a fully calibrated and accredited measurement system in accordance with DIN 7500-1. The accreditation body is, in turn, certified by the German Accreditation Body (Deutsche Akkreditierungsstelle GmbH – DAkkS) according to DIN EN ISO/IEC 17025.
In Detail:
- Extremely Flexible Application: The system can be quickly adapted to different installation locations, as well as axle and bogie center distances.
- Shim Plates: Used to create a custom height reference (measuring track quality).
- Measurement Process: The system captures data via the wheel flange, preventing lateral forces that could affect the measurement results.
- No Influence on Measurement Values Due to Lateral Wheel Displacement
- “Deactivation” Option: The system can remain in the track when not in use.
- Compatible with All Common Rail Profiles and Track Gauges, Including Narrow and Broad Gauge
- Versatile Application: Can be used in various installation situations without construction work, such as maintenance pits, elevated track systems, level concrete areas, and other rail track systems.
- Patented Force Transmission Process: Prevents potential distortion of measurement values due to restraining forces.
- Minimal Setup Time: Can be installed in just a few minutes, without the need for special tools.
- Modular and Expandable: The system can be expanded as needed and is connected via CAN bus as a digital system. In the event of an error, sensor blocks can be easily replaced.
- Interactive Digital Measurement Data Controller (WMV)
- Optional MARK Data Software Module: Complies with DIN EN 15654, DIN EN 27201, EN 14363, and UIC V660.
- Delivered as a Calibrated and Accredited Measurement System: Certified according to DIN 7500-1.
- Measurement Accuracy: Better than ±0.5% as per DIN 27201, ±0.2% or better upon request.
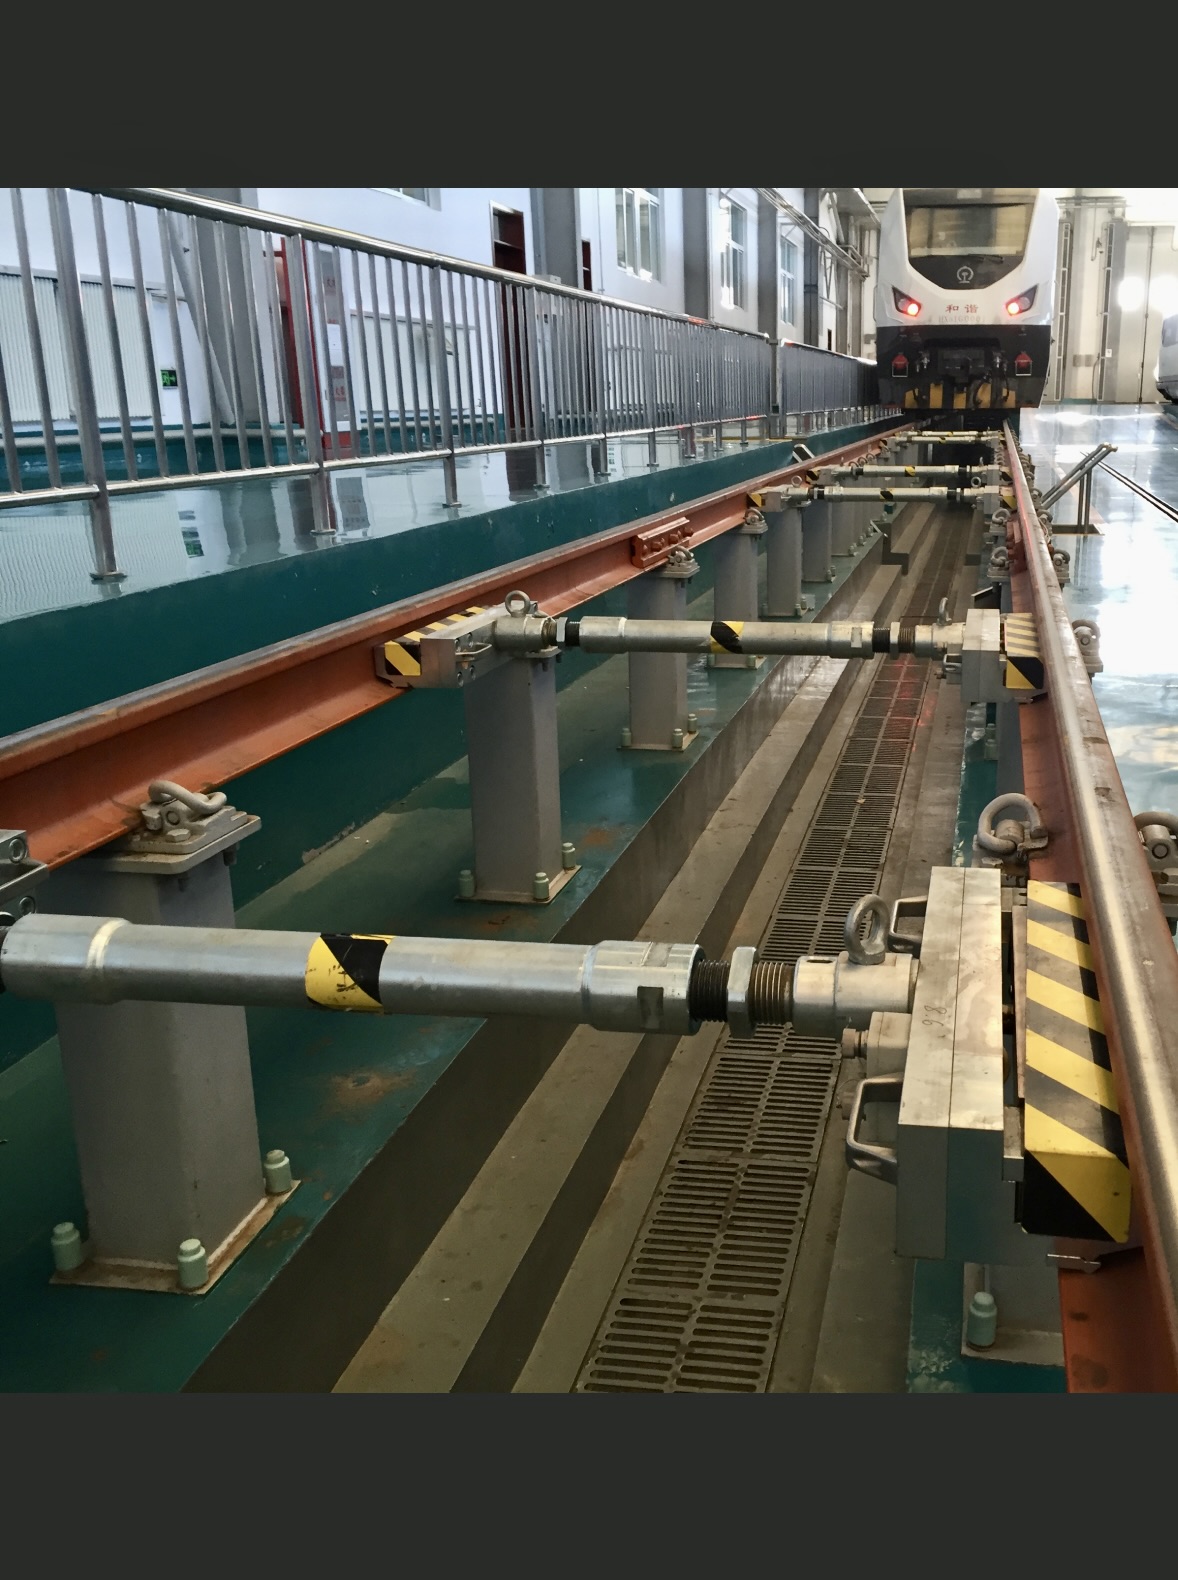
The LARS-m system also offers modular expandability, allowing users to scale the system up to comprehensive testing of entire train formations in a single measurement step. It is designed to minimize the influence of external factors on measurement accuracy, such as lateral forces or wheel displacement.
The height of the wheel flanges can be universally adjusted using shim plates without the need to disassemble the measuring system. The individual measuring points can be aligned to the same height level, so that no zero-level track is required when measuring all wheels of a vehicle simultaneously. Consequently, the user can create the required height tolerances for the measuring points (according to the measuring track quality) before the measurement with the help of the LARS-m testing system.
By removing the wear cover above the measuring bridge, the system is “deactivated,” and the wheel flange is no longer lifted. In this state, vehicles can pass over it at higher speeds.
The wheel does not need to be positioned centrally on the measuring system to measure the wheel contact forces. The section where the wheel can be positioned can be up to 350 mm while maintaining the required accuracy class of ±0.5%. The general active measuring section is 425 mm.
Due to its modular design, a defective sensor block can be replaced with a functional one, allowing the measurement process to continue promptly.
This flexibility, combined with its robust construction and easy handling, makes the LARS-m system an ideal solution for precise and reliable measurements of wheel contact forces.
Stationäre Radaufstandskraftmesssysteme
At a Glance:
Complies with DIN EN 15654, DIN 27201, DIN EN 50215, EN 14363, and UIC V660
Minimizes structural modifications and preserves the integrity of the structure due to its compact and low-profile design
Easily expandable at any time with minimal effort
Measurement accuracy better than ±0.5% across the entire measuring range
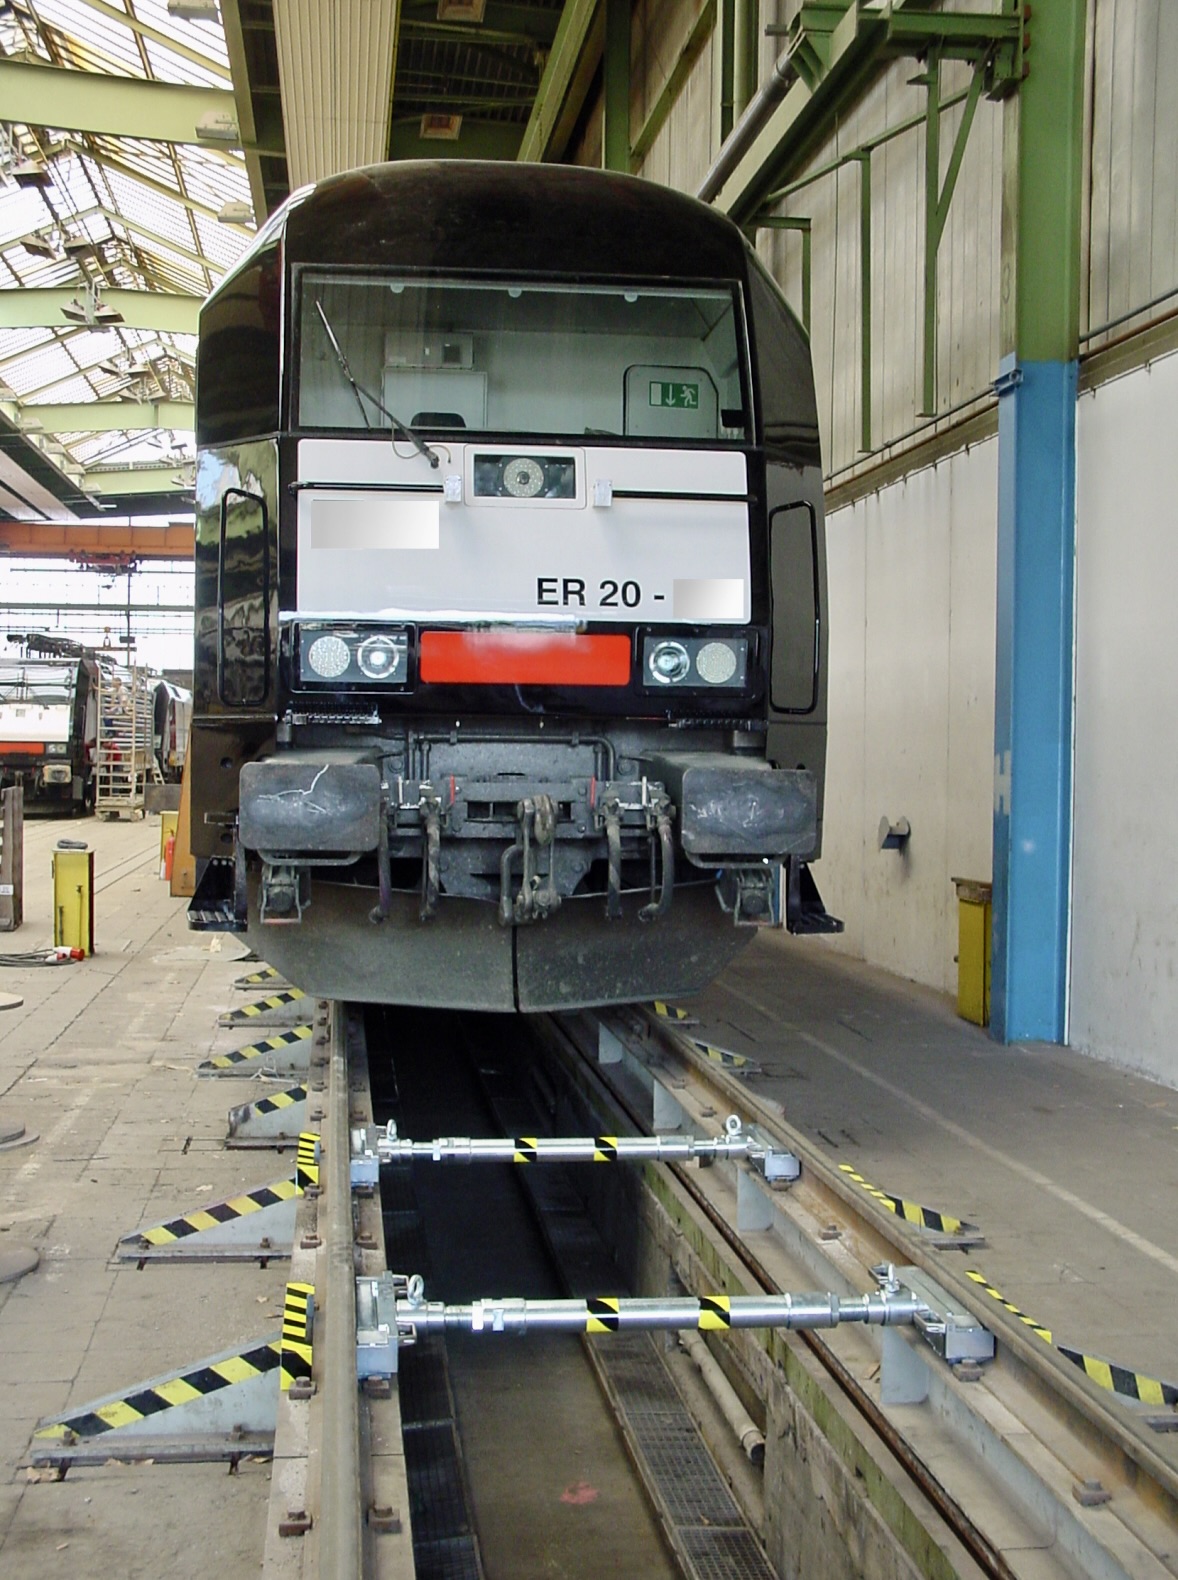
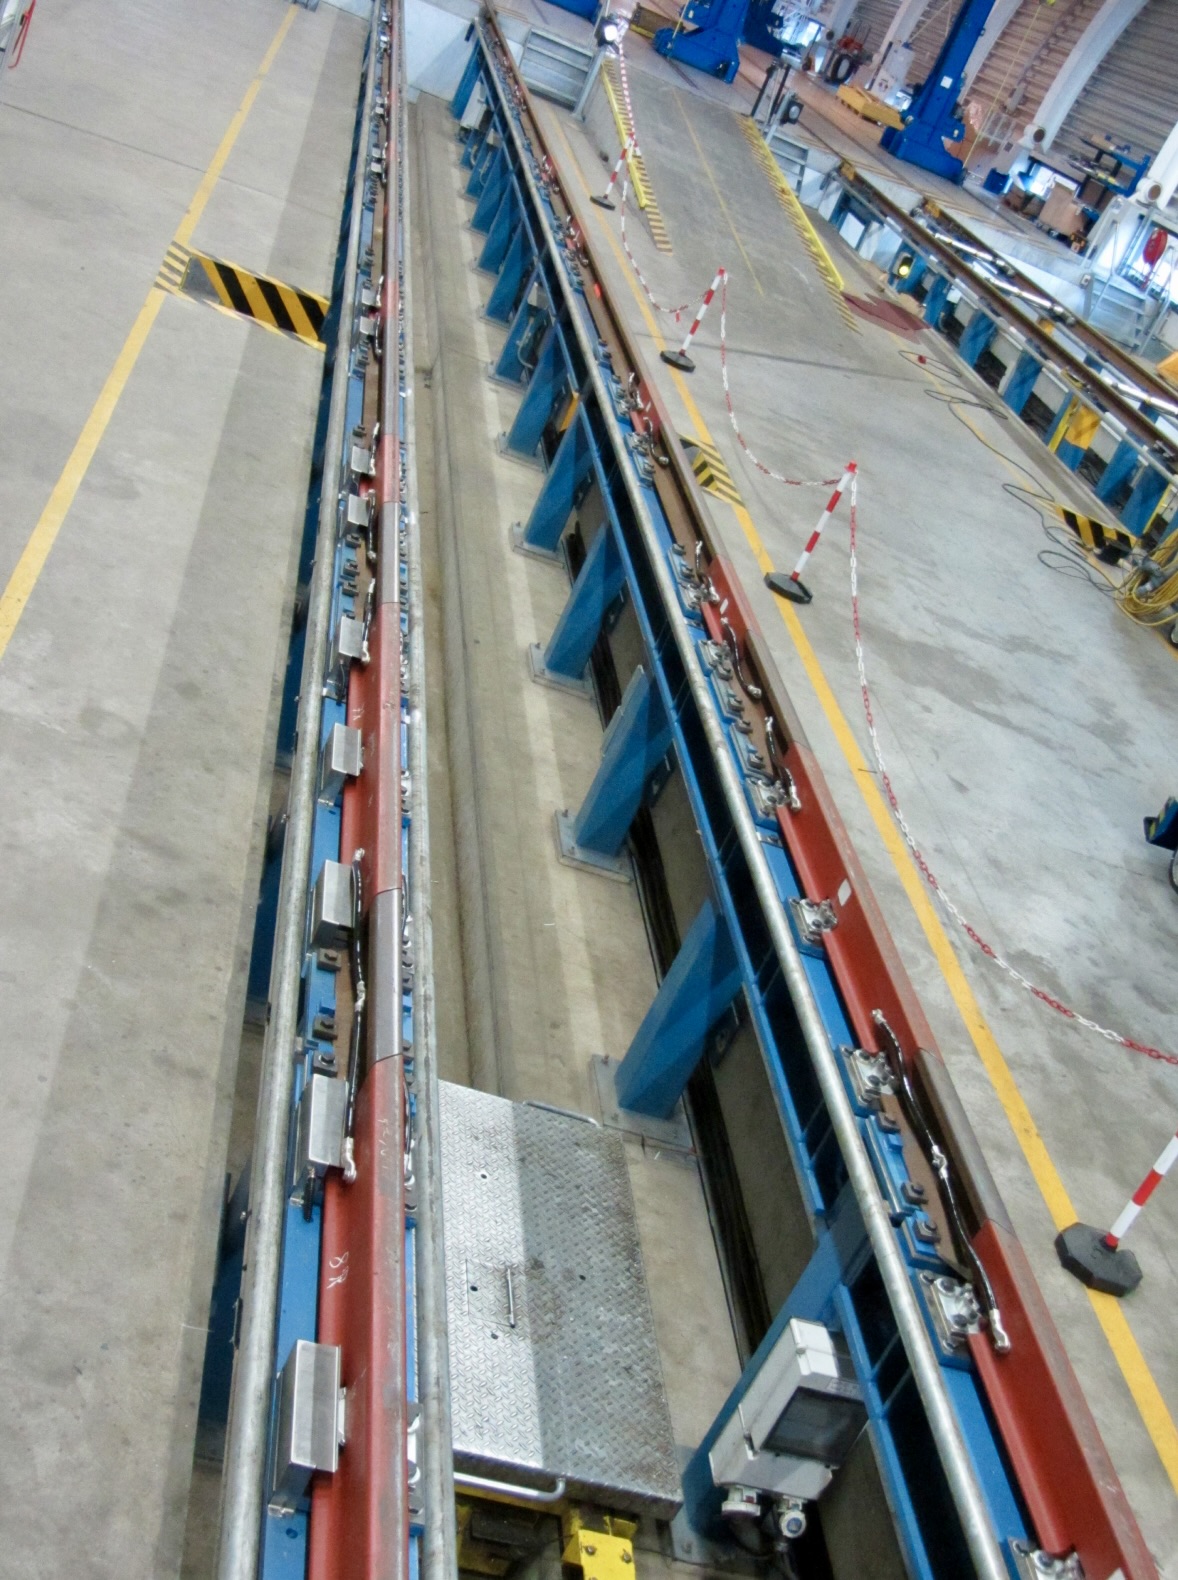
The stationary StARK system offers a precise solution for determining wheel contact forces, which can be used in various installation situations such as maintenance pits or elevated track systems.
Due to its modular design, it can be adapted to different measurement tasks and bogie types. The system enables measurement on the running surface of the wheel with an accuracy of ±0.5% and is compatible with nearly all rail profiles and track gauges.
In Detail:
- Stationary high-precision measuring system for determining wheel contact forces, compliant with DIN EN 15654, DIN 27201, DIN EN 50215, EN 14363, and UIC V660
- Compatible with nearly all rail profiles and track gauges, including narrow and broad gauge
- StARK-s: Low-profile design, generally without affecting the structural integrity of the building
- StARK-c: Compact, minimized design within existing rail profiles without significant structural changes to the ground
- Measurement takes place on the running surface of the wheel
- No influence on measurement values due to lateral wheel displacement
- Can be installed in typical situations such as maintenance pits, elevated track systems, or flat concrete areas
- Expandable afterwards due to its modular design
- Interactive digital measurement data controller (WMV)
- Optional MARK data software module in compliance with DIN EN 15654, DIN EN 27201, EN 14363, and UIC V660
- Calibrated and accredited measurement system certified according to DIN 7500-1
- Measurement accuracy better than ±0.5% in accordance with DIN 27201, ±0.2% or better on request
The StARK-s wheel contact force measuring system has a relatively low profile, reducing the need for structural modifications and generally not affecting the building’s structural integrity. If structural work needs to be minimized further, the StARK-c measuring system is ideal. It can be integrated into existing rail profiles without requiring structural changes to the ground. The measuring range of a section, while maintaining the required accuracy class of ±0.5% or better, can be up to 1800 mm for the StARK-s and up to 300 mm for the StARK-c.
Both systems offer the possibility of expansion by combining several measuring sections, creating test rigs for complete bogies, wagons, or train formations. The systems include a digital measurement data controller with a touch interface and can optionally be connected to the MARK-data software module, which complies with applicable regulations such as DIN EN 15654, DIN 27201, and UIC V 660. Calibration, in accordance with DIN 7500-1, is carried out by an independent, accredited body that is certified according to DIN EN ISO/IEC 17025.
Contact us
We are happy to assist you with any questions regarding wheel contact force measurement, corner force measurement, and bogie test rigs.
- FON: +49 (0)331 600 269-0
- FAX: +49 (0)331 600 269-13
- Opening times:
Mon - Fri 8 am - 5 pm CET - Delivery Acceptance Times:
Mon - Thu 8 am - 5 pm CET
Fri: 8 am - 3:30 pm
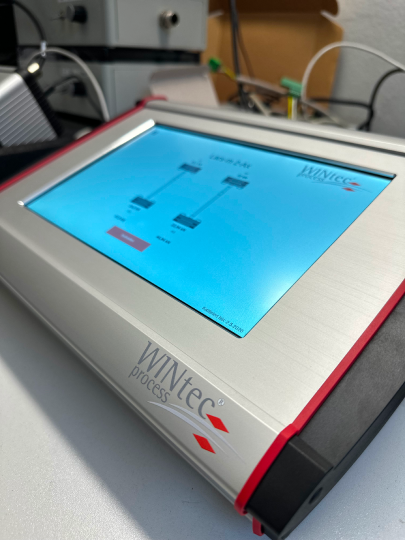
WMV Measurement Data Controller / Software
The WMV measurement data controller is included in the delivery and serves as the link between the sensors and the measuring software. It receives the digitized sensor data and visualizes it in a logical interface for the user. Additionally, it allows certain commands to be executed via its touchscreen – for example, resetting the sensors to zero.
Häufig gestellte Fragen
Hier finden Sie Fragen, die Ihnen helfen, weitere Details über unseren Prozess und unsere Arbeitsweise zu verstehen.
How will you handle the work if we need to transport our vehicle to Germany?
Before our measuring systems are handed over to the customer, they are tested by an independent accredited body (Materialprüfungsamt – materials testing office) After Step 1 is approved as conforming to the official international standard MPA-STAA12K17 (a specification of DIN 7500-1) and further standards, such as ASTM E4.This independent body is in turn accredited by the German national accreditation body (Deutsche Akkreditierungsstelle GmbH (DAkkS)) as conforming to DIN EN ISO/IEC 17025.v
Increase Your Derailment Safety.
Get advice from our experts on wheel force measurement systems now!
